Today, we’re walking step-by-step through the process of how to give yourself a manicure at home. With the right tools, products and about 30 minutes you’ll quickly elevate your look while saving time and money.
We talk weekly about how to look more polished and pulled together. Obviously, our clothes play a huge role. Their quality, fit, and the general composition of an outfit all work together to create an elevated look.
But what about that one friend we all have that’s wearing her workout clothes, or a simple pair of jeans and a tee shirt on the sidelines of her kid’s soccer game and looks impeccable?
Why does she always look so great even when she’s not wearing anything particularly special?
It’s all in the details of how she’s groomed. And I would bet that her nails are manicured. Tiny details, like well-manicured nails, make a huge difference in our overall look.
How to Give Yourself a Manicure at Home
So many of my friends religiously maintain their weekly manicure appointments, but I just can’t get myself together enough to stick to a schedule. Maybe I’m missing the “salon is fun” gene?
I’m already over-scheduled as it is, so I find them to be a colossal drain on my time. While the idea of sitting for an hour or two sounds heavenly, like so many of you, there is little margin in my day.
Salon appointments also costs a pretty penny and that adds up.
We all need to find places to save so we can spend in others. For me, with the exception of special events and the occasional pedicure, I’ve been skipping the salon and giving myself manicures at home.
After a lot of trial and error, I’ve figured out how to give yourself a manicure quickly and simply.
So if you feel like I do, and want an elevated look without draining your resources, follow my steps below.
How to Give Yourself a Manicure
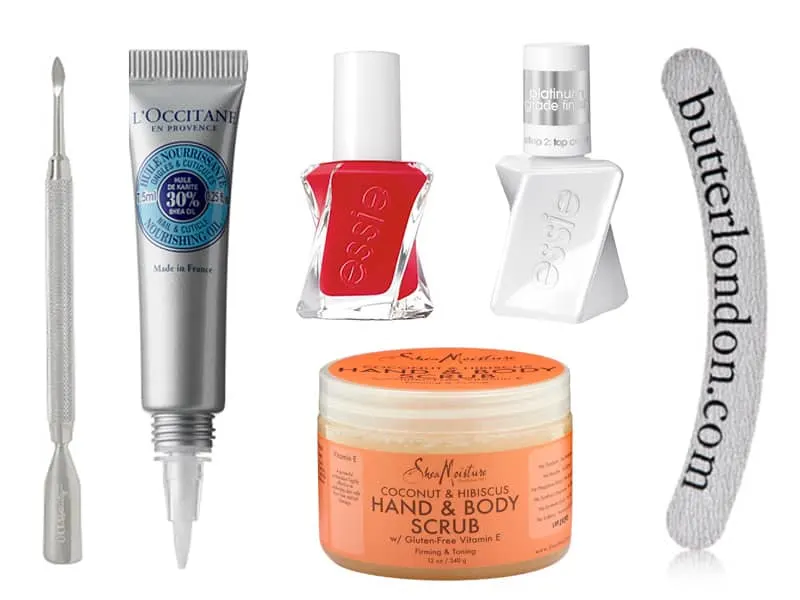
Top Coat, $11.50 | Nail Polish, $11.50 | Hand Scrub, $10 | Cuticle Oil, $20 | Cuticle Pusher, $12.50 | Nail File, $2
How to Give Yourself a Manicure Step by Step
The secret to a shiny, and long-wearing manicure at home is using quality products and taking the time to prep your nails. It’s kind of like painting a room. The more time you spend getting ready, the easier it is to paint and the better the result.
Typically I do this on a Sunday night as part of my getting-ready -for-the-week-self-care-routine.
Multitasking is the name of the game, so I pack a lot in that hour.
Here’s how to give yourself a manicure at home in less then the time it takes to drive to the salon.
Trim your nails
My nails grow fast, I’m always typing and I’m blessed with long nail beds so I keep mine as short as possible.
Plus, the shorter you keep your nails the less you’ll deal with chipping and the longer your manicure will last.
Soak and scrub your nails
Depending on how much time I have, I might sit for a few minute and soak my nails. This is a helpful step in getting your nails clean and your cuticles soft.
More often, though, I hop in the shower with a body scrub and use the steam of the shower instead.
I found this scrub at Target last year and use it almost every day. It’s great for your body pre self tan and on your hands and nails. It gently exfoliates while leaving your skin soft and smooth.
After I trim my nails, I hop in the shower, scrub this on my hands and nails and gently push my cuticles back with a warm wash cloth. It’s a great buy for under $10.
Take care of your cuticles
Healthy cuticles are essential for youthful looking hands and nails. Depending on the state of your cuticles you might need a little more than just pushing them back with a wash cloth.
Cuticle cutting is controversial, but if you need to trim them or remove a hangnail move with caution and use a pair of cuticle scissors. I also recently picked up this cuticle remover at Target for $3. It helps you easily trim them back with more control than the scissors.
Your skin should soft from your shower or soak. Never cut your cuticles when your hands are dry, it’s too easy to trim too much and cut yourself in the process.
Likely you’ll just need to clean up your nail bed and push back your cuticles. For this use a cuticle oil. I have a few I like. L’Occitane has a nice one, this one by Essie also works well and is affordable, and I recently started using OPI’s cuticle pen and I love it.
Apply the oil around the nail bed and gently push with with this cuticle pusher.
To keep my cuticles in good shape, and make subsequent manicures easier, I brush a little of the oil on my nails at night before bed. It’s helpful to use it throughout the day too if you are constantly washing your hands in hot water.
Related: How to Look Expensive Without Breaking the Bank
Dry off
Take a dry towel and wipe any extra moisture off your nails before you file and polish. You want your nails bone dry. If you file wet nails they will break easily.
File
Don’t go crazy with this step. All you want to do is lightly file down any rough edges. You can use any nail file you have. I like this curved file by Butter London because it helps you easily create a “rounded square” shape.
It’s important to file in one direction to create a smooth finish. When you go back and forth you create a ragged tip which will make it easy for your nails to crack and chip.
Wash and dry your hands again.
Polish
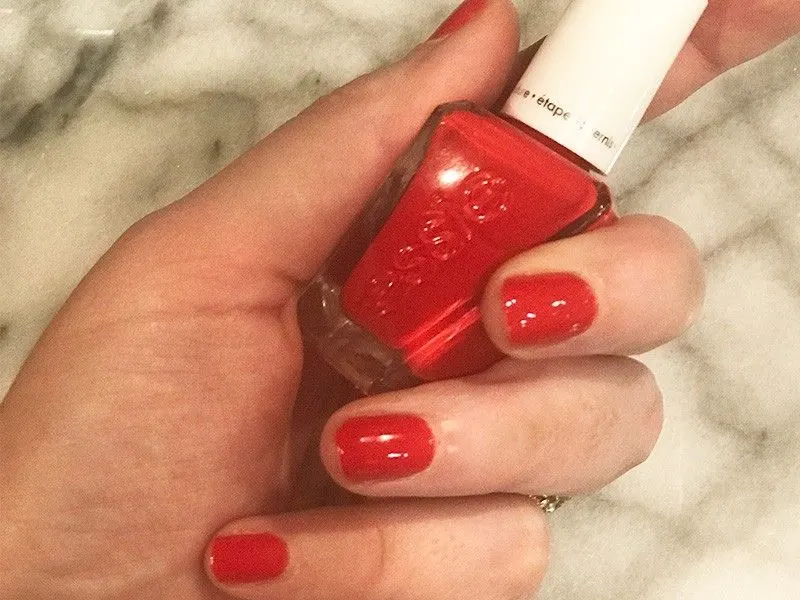 The woman who used to do my nails regularly did an incredible traditional manicure. I could never figure out what she did that kept it looking so perfect for so many days.
It turns out; she skipped the base coat step. “If you prep the right way, you don’t need it,” she told me.
And boy, it makes a huge difference.
Since then, I go right to polish. Use your favorite polish. I happen to love Essie Gel Polish. The colors are pretty, and the formula is so smooth and easy to apply.
The brush is wide and flat, so you can cover your entire nail in three simple swipes. You don’t need to use a gel polish. Essie’s basic line is great, so is OPI.
The trick is to place the brush on your nail bed a little above your cuticle line and then gently push down and pull up so the polish spreads evenly. Have patience and take your time.
The Secret To a Perfect Manicure at Home
Here’s the game changer. Once you have applied your color, add the Essie Gel Top Coat. It doesn’t matter what polish you use. Two coats of this gel top coat and you will have a shiny, long lasting, chip free manicure for days.
Let your nails dry completely and enjoy looking down at your perfect fingers all week long.
Shop How to Give Yourself a Manicure
Our Style Content is Inspired by Our Readers
Our readership inspires all of our posts and is not sponsored or paid for by brands or retailers.
Recommendations are based on my experience as a personal stylist and wardrobe consultant for over a decade. I worked with busy, down-to-earth women who wanted to look chic and feel confident but were often confused by so much of retail.
Some links are affiliate links, which means if you purchase via our site, we receive a small commission.
 If you enjoy our content and would like to help us grow, please follow on Instagram and join our Private Facebook Group to access more advice and exclusive in-depth conversations with other like-minded women.
Learn about our mission to help women look and feel their very best, every day, here.
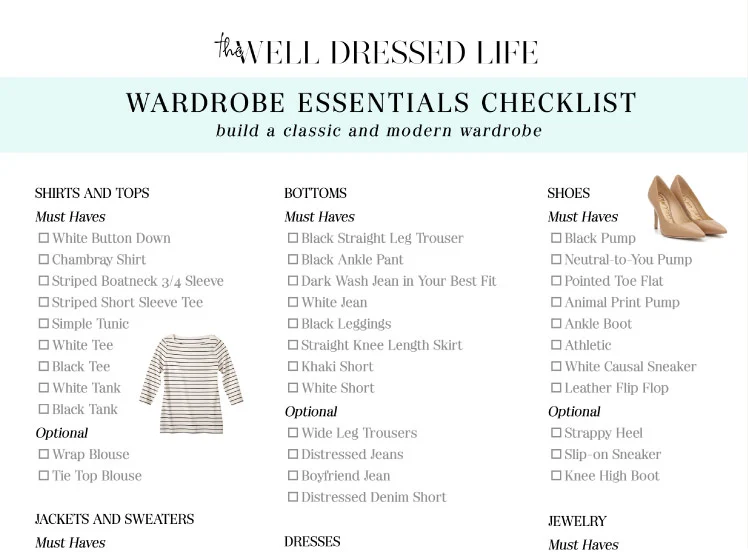
Sign Up for Daily Content and Receive Our Free Classic Wardrobe Checklist



Leave a Comment